by Ann at Go West Gardener | Updated: Jan 28, 2026 | Flower Garden Basics, Gardening Tips and Tricks
– 20 degrees below zero… -50 degrees below zero… -70 degrees below zero …
Yikes.
Every few years, we see some big wind chill numbers across parts of the Rocky Mountain region and high plains during winter, including in Colorado and Wyoming.
With these arctic blasts, it’s natural to wonder:
“Will wind chill kill the plants in my garden?”
The short answer is no.
Wind chill affects humans, not plants. The temperatures that affect your plants are the actual lows, not the wind chill temperatures.
Do you have snow in the forecast? That can be a good thing. Snow acts like insulation. It can serve as an insulating blanket on the ground, helping protect your plants’ roots from really cold temperatures.
Mid-winter is a better time for cold blasts than spring or fall. No one wants arctic temperatures, but if we’re going to get them, it’s better for our plants to get them in the heart of winter. Most perennials (and shrubs and trees) are in their hardened winter mode. Extreme lows can be much more destructive to plants in the spring or fall.
Many plants are “cold hardy” and can tolerate frigid dips.
It will be a wait-and-see game when spring and summer come around to find out if and how plants are affected by winter’s arctic blasts. In the spring, I’ll keep my eye on my “marginally hardy” perennials and newer plants that are still developing their root systems.
But if you hear weather forecasters toss around epic wind chill numbers, don’t let the wind chill numbers alarm you for your garden.
To learn more…
Related topics that may interest you:

by Ann at Go West Gardener | Updated: Jan 28, 2026 | Gardening for Pollinators, Gardening Tips and Tricks
The sun is shining its warm rays. Birds are singing. And Costco has started assembling its spring pergola displays. Spring is starting to feel like it’s within reach, even if it’s still a ways off.
It’s enough to make you want to skip through the aisles of Costco.
(Go ahead. We won’t judge.)
So, on these warm winter days…
Should you start cutting back your garden in Colorado and similar states?
It’s tempting to want to start cleaning up your western garden for the new season—you know, raking leaves out of your flower beds, cutting back perennials.
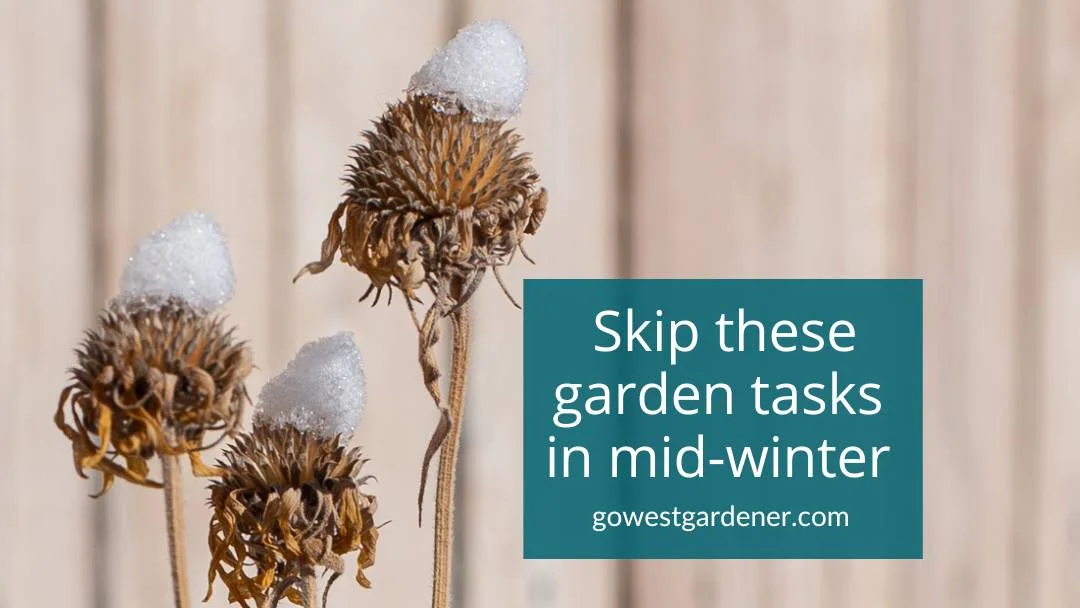
But good news, there’s still time to relax. It’s best to hold off on these tasks for now. Yep, step outside and simply enjoy the sunshine instead.
Why wait on garden clean-up?
1) You’re giving your plants extra protection.
When you leave plant stems standing all winter, you’re giving some plants a better chance of returning in the spring, saving you money and effort.
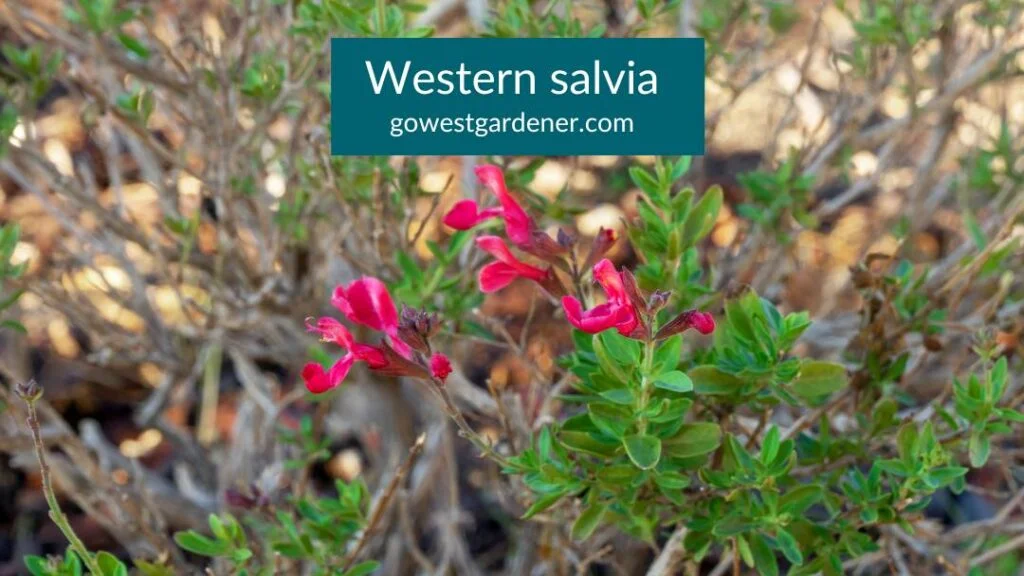
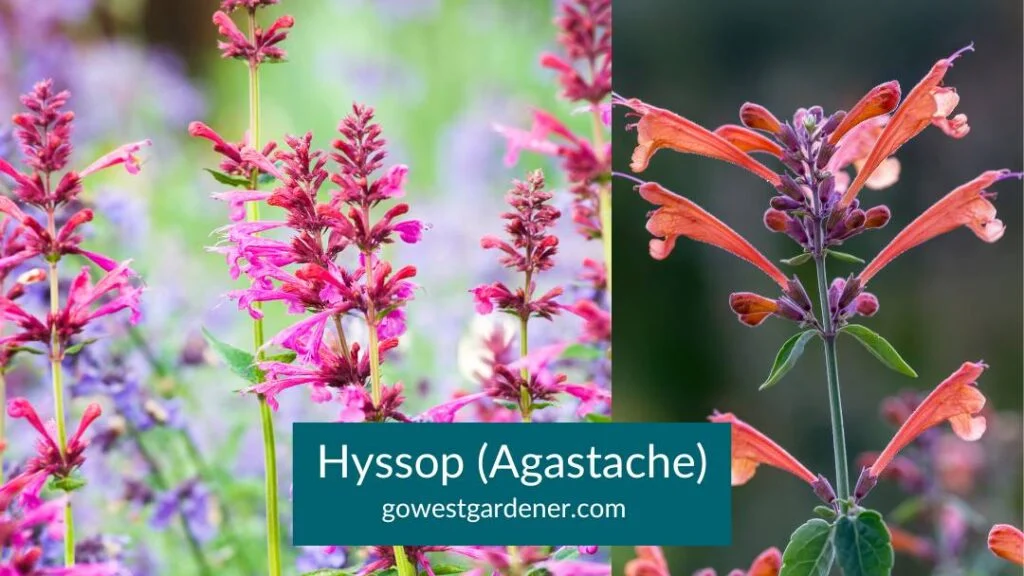
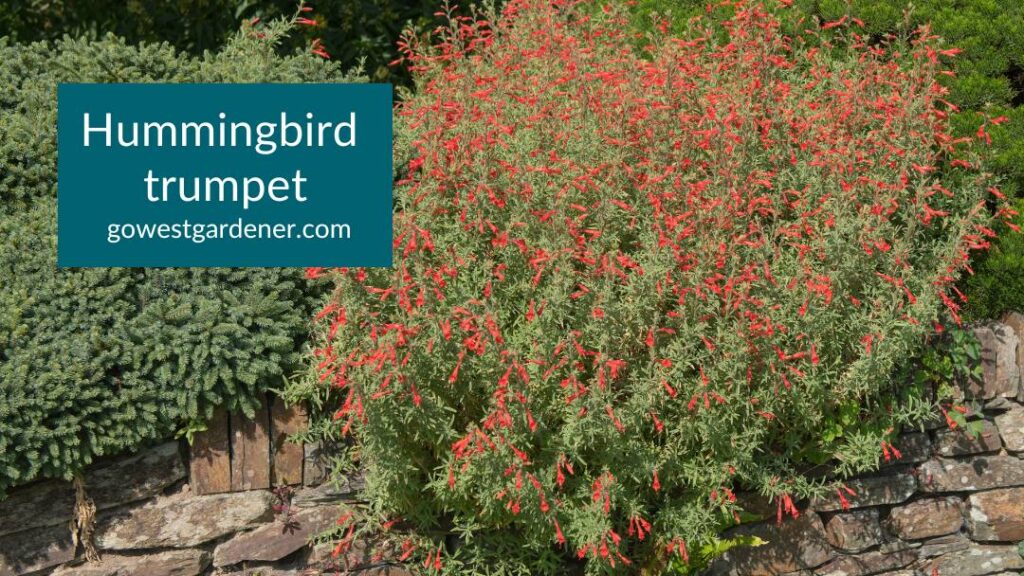
It makes the plants hardier in the cold. This includes beautiful plants that hummingbirds love like western salvias, hyssops (Agastache) and hummingbird trumpet.

2) You’re helping nesting pollinators.
Some pollinators, like Monarch butterflies, head south for the winter like happy retirees. But many beneficial insects (or their babies) overwinter in your garden and don’t emerge until April or May. Some nestle down in leaf debris. Some lay eggs or create cocoon-like structures on the dormant stems of your perennials and shrubs. Many overwinter in hollow plant stems or in holes in the ground.
Your garden is a lil’ Airbnb!
3) You’re feeding the birds.
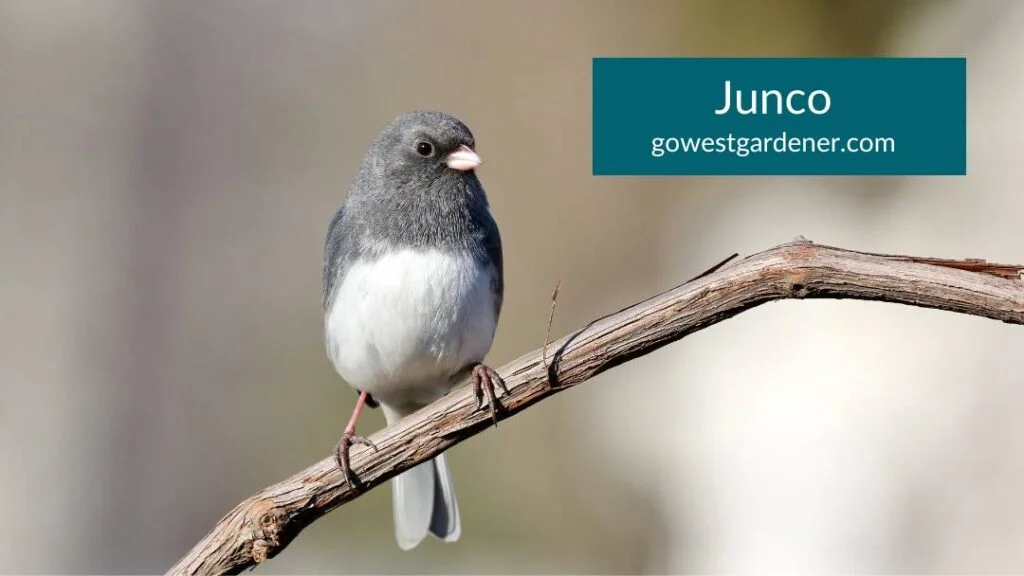
Local and migrating birds will feed on dried seeds from your plants. In January, I noticed 15 robins in my backyard (it was a robin convention!), along with juncos, woodpeckers and a few mystery cuties. Hopefully, you’re enjoying birds in your yard too.
Cheers to nature right outside your door!
Related topics that may interest you:
by Ann at Go West Gardener | Updated: Dec 2, 2022 | Gardening Tips and Tricks
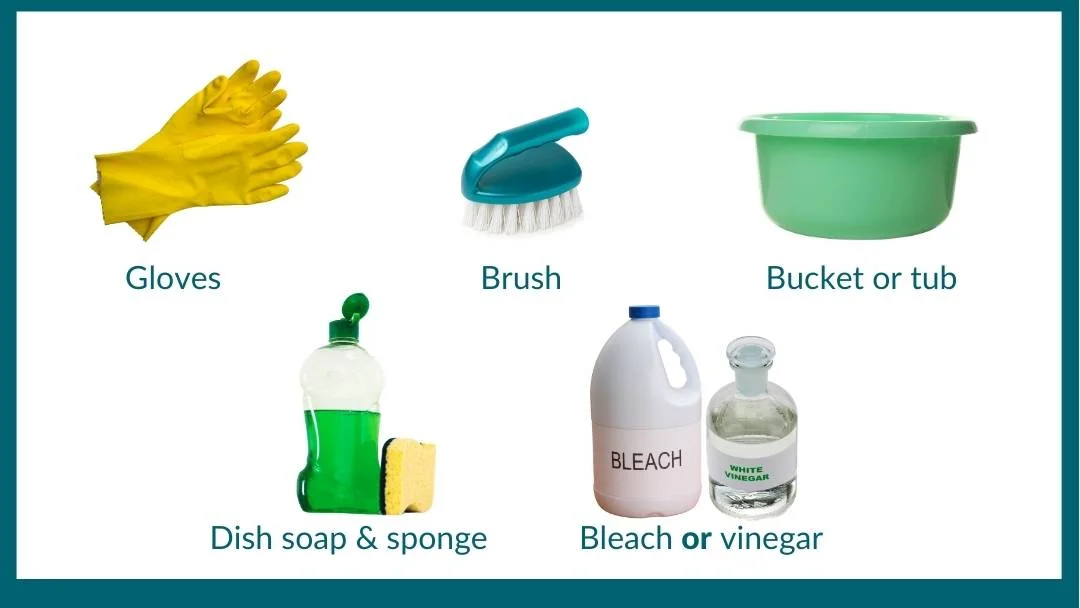
Here are the key items you need to sterilize your flowerpots:

Here’s how to sterilize your flowerpots:
- Wear clothes for cleaning. For example, put on rubber gloves. You also may want to put on old clothes.
- Place your pots in a sink or tub (if you can).
- Wash your pots in soapy water. I use dish soap. When you’re done, empty the water.
- Partially fill a bucket with a mixture of 90% water and 10% bleach. (For every 1 gallon of water, you’d add about 1-3/4 cups of bleach.) If you’d like an alternative to bleach, you can use vinegar. Just know it isn’t quite as effective at sterilizing. You also can ask your local garden center whether they carry any organic agricultural products that are good alternatives to bleach.
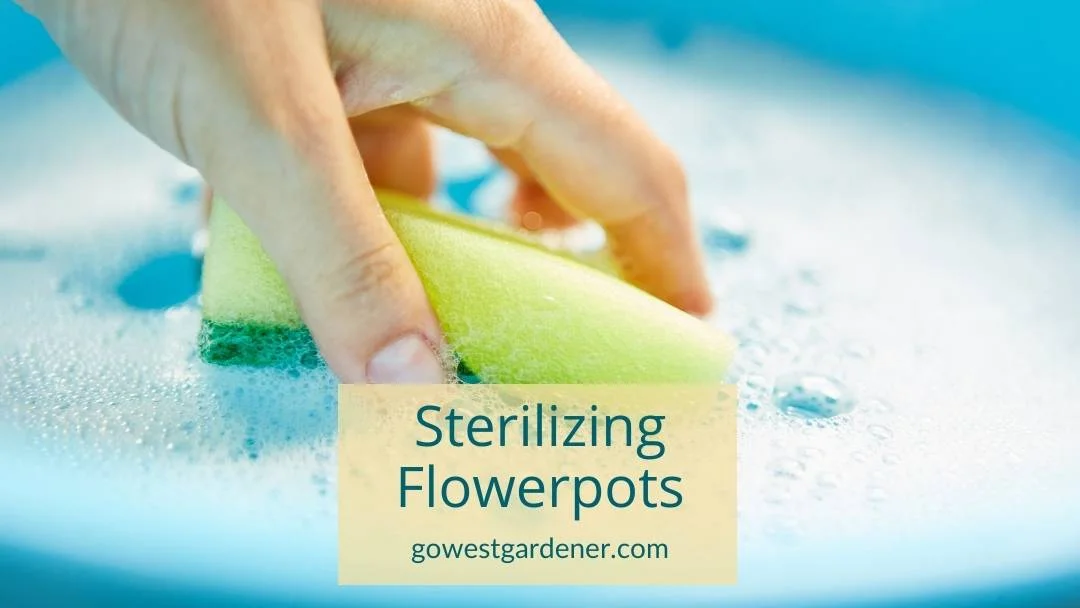
- Use a sponge to wash the mixture over the inside and outside of your pots. If you can soak your pots in the mixture for a few minutes, great, but I know this can be tough to do with big pots or heavy pots.
- Rinse your pots with clean water. If your pots are terracotta, soak them in clean water. (Terracotta is very absorptive.)
- Let your pots air dry.
If you set up a tub or plastic container outside to wash your pots, you may want to set up in your garage. Keep all of this away from your lawn and plants.
Related tips that may interest you:
by Ann at Go West Gardener | Updated: Nov 14, 2022 | Flower Garden Basics
As you learn how to garden, it’s helpful to understand:
“What’s an annual vs a perennial?”
Why?
Because most flowers in your western garden will be one or the other.
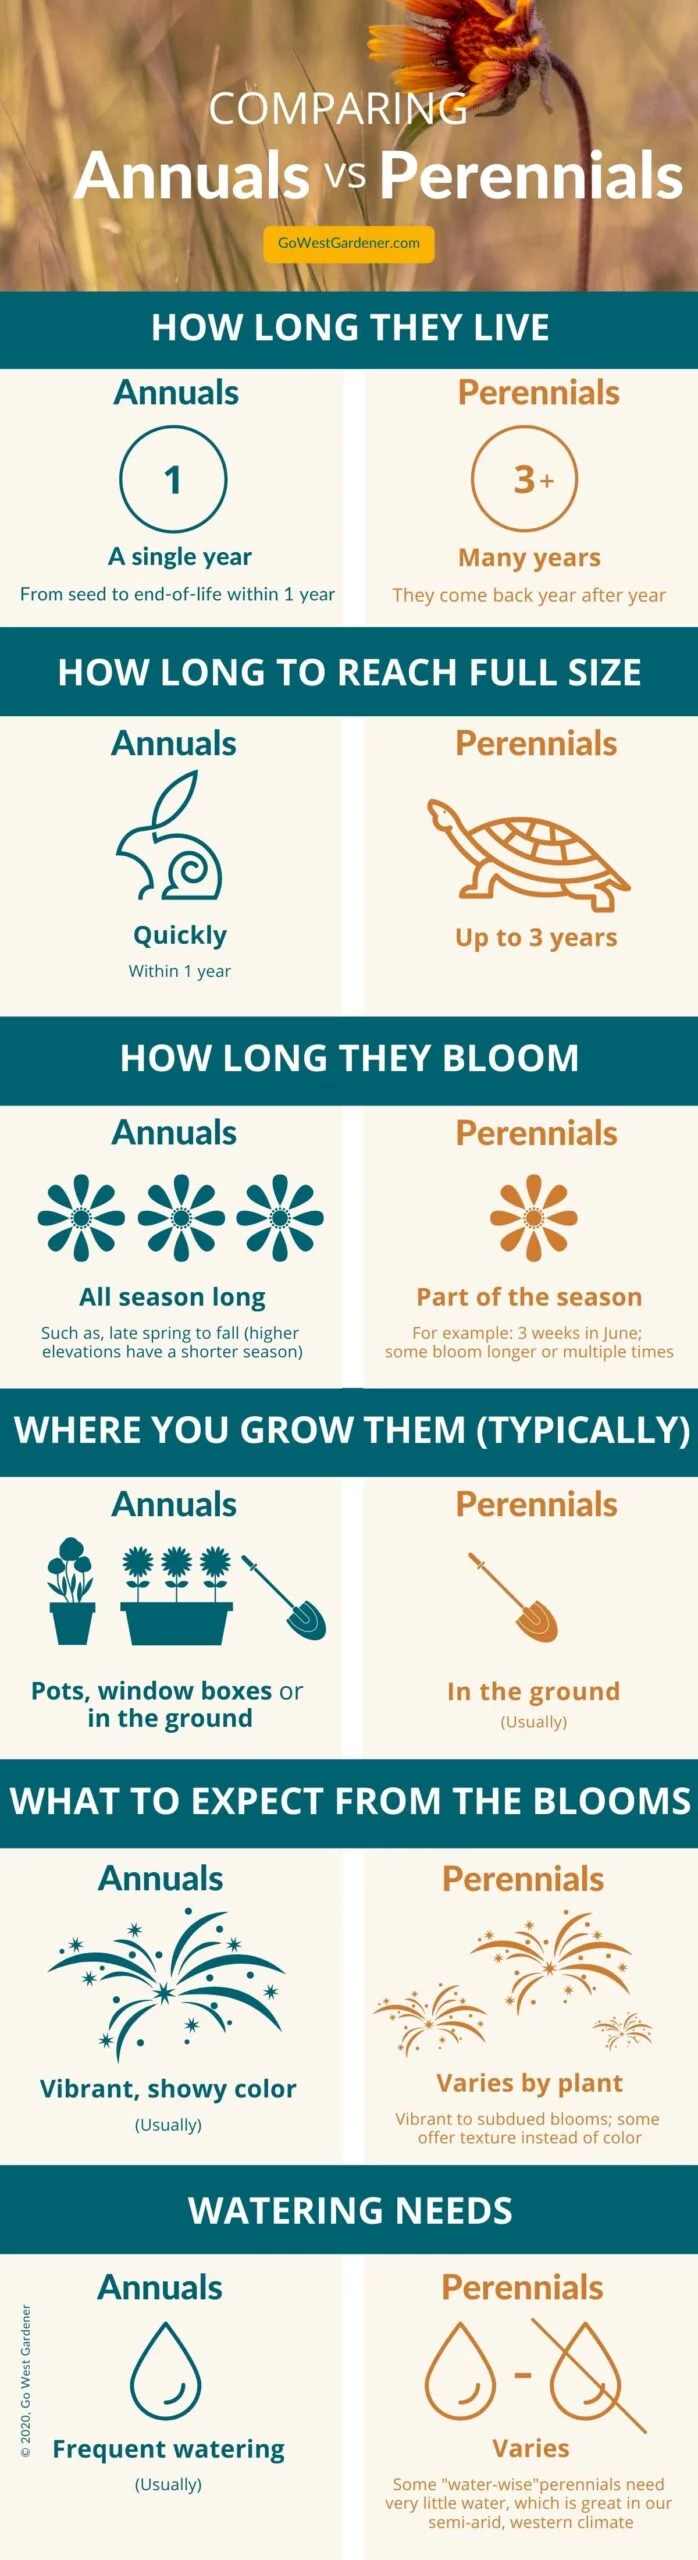
Here are key differences between annuals and perennials, so these types of flowers make more sense.
Keep in mind, Mama Nature makes her own rules, so there are always exceptions.

Related tips that may interest you:
by Ann at Go West Gardener | Updated: May 20, 2026 | Gardening for Pollinators, Gardening Tips and Tricks
A friend asked me: “How do you know if gardening products are really organic?”
Maybe you’ve wondered the same thing.
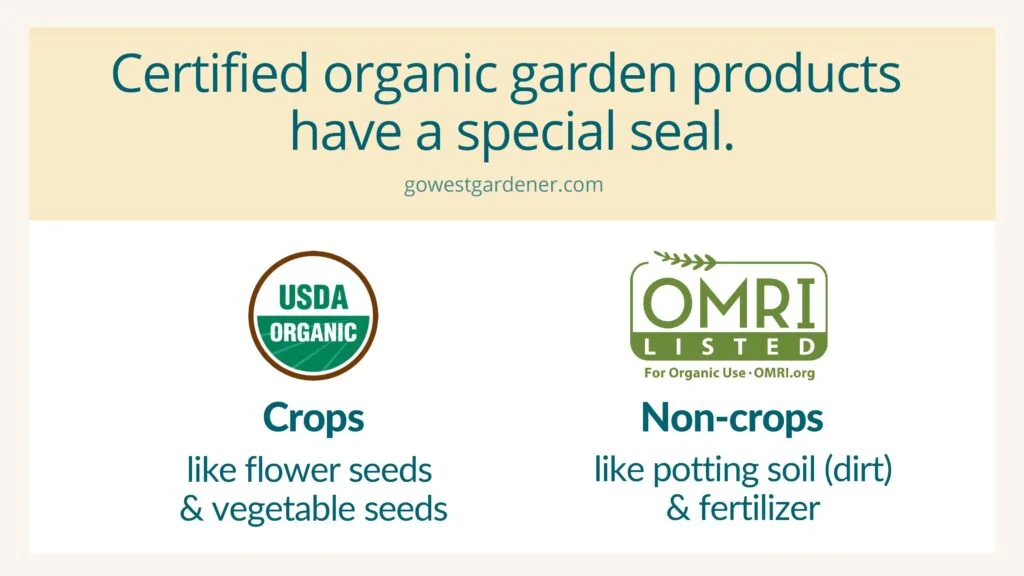
Certified organic garden products have a special seal on their packaging. You can see what the seals look like below.
When you see one of these seals, it means you’re buying products that meet certified organic guidelines.
The seal will either be from the US Department of Agriculture (USDA) or the Organic Materials Research Institute (OMRI).
Flower seeds and vegetable seeds (crops/food) have a “USDA Organic” seal.
This means the final product has undergone a strict organic certification process, according to the USDA website.
No genetic engineering. No synthetic fertilizers (aka, man-made fertilizers). Etc.!
Other garden products have an “OMRI Listed®” seal.
Garden products like fertilizers and potting soils (dirt) are certified through a different organization: the Organic Materials Research Institute—or OMRI, for short.
OMRI is a non-profit that does independent reviews of non-food products to confirm whether they’re organic.
Gardening products with the “OMRI Listed®” seal meet the organic standards for farming and processing.
Look for the seal on the packaging.
It’s helpful to know that these seals aren’t big. And sometimes, they’re in a discreet spot.
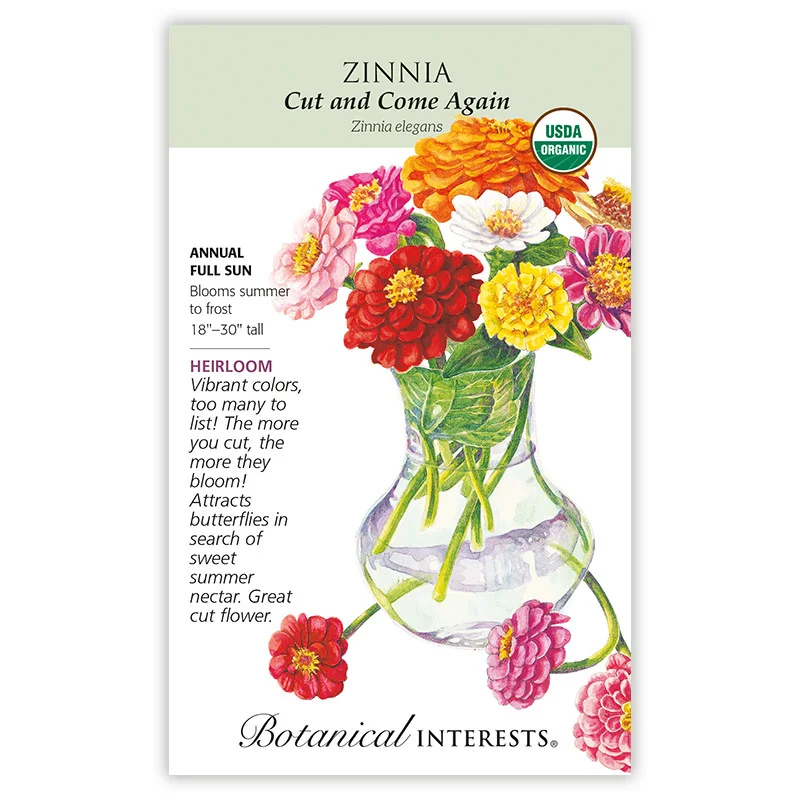
Check out example below. Do you see the USDA Organic seal on this packet of zinnia seeds?

Image courtesy of Botanical Interests
What if you just see the word “organic” on the package?
The use of the word “organic” on non-food products is not federally regulated (source: OMRI).
So, just seeing the word “organic” in the words on the package may—or may not—mean that the gardening product is truly organic.
Related topics that may interest you:

by Ann at Go West Gardener | Updated: Oct 20, 2025 | Gardening Tips and Tricks, Western Container Gardening With Flowers
It would be awesome to be named “The Perfect Gardener” after a summer of growing flowers — complete with dancing squirrels and a pitch-perfect choir of cicadas.
But alas, most of us weren’t born with a spade in one hand and a geranium in the other.
So, the next best thing is to find ways to shorten our learning curve for next year.
As we near the end of the summer flowerpot season in western states like Colorado, Utah and Wyoming, it’s a great time to ask…
How’d your flowerpots turn out?
- Which flowers made your heart sing with joy?
- Which flowers were duds?
- What would you do again next year?
- And what would you change?
Now, before your mind starts shouting:
“Ugggghhhhhh, gardening is so much work!!!”
I say:
Keep it simple, baby.
You can do this on your phone with just a few pics.
If you’re feeling ambitious, add in a couple of helpful notes in between sips of your favorite pumpkin spice latte.
Here are 3 ways to keep this simple:
(1) Take a quick photo of each flowerpot with your phone.
Don’t worry about getting the lighting perfect. These photos are just to help you remember what you planted and how your container garden turned out.
If you want to stop here, that’s fine. You’ve got a good visual record for next year.
If you like to stay organized, add the photos to a new album on your phone. Name the album something easy to remember like: Flowers 2022.
Tip: Feel free to use photos you took earlier in the season, especially if that’s when your container garden looked prettiest. Or, if you want to see the growth of your pots, it’s always fun to include a “just planted” image from early in the summer and a late season image (like a before and after).
(2) If you saved your plant tags when you bought your plants, snap photos of those too.
Saving the plant tags is a simple way to keep track of the flower varieties you bought, particularly if:
- You loved a specific flower or
- You don’t want to repeat a specific flower next year
If you didn’t save your plant tags this year, no worries. You can do it next year.
Tip: You also can snap these photos when you plant your containers.
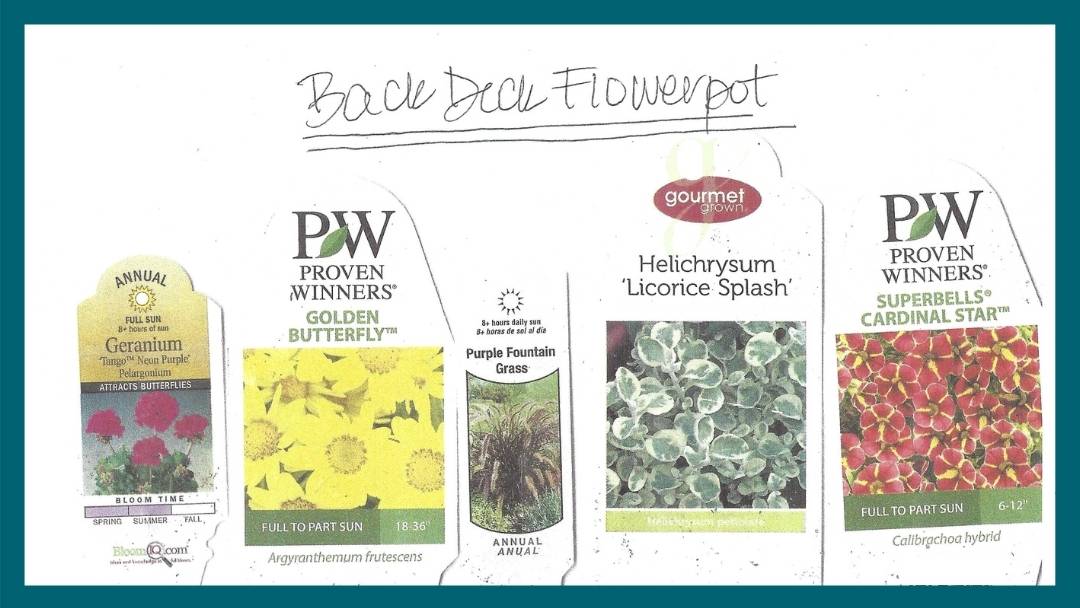
I like to group the plant tags together by flowerpot to make them easier to remember, but you don’t have to be this structured. Here are a few ways to group them:
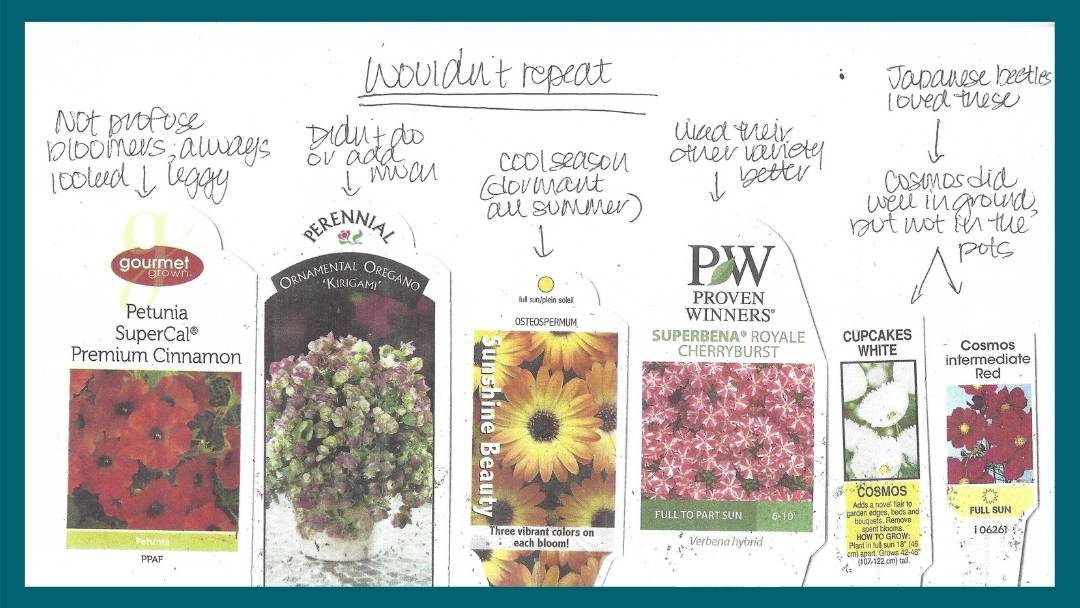
- Group your plant tags into “winners” and “duds” (flowers you loved and flowers you wouldn’t repeat)
- Group your plant tags by flowerpot
Here’s an example of organizing the plant tags by flowerpot:
If you have a bazillion photos in your phone, like me, and you want to stay organized:
- Add these photos of your plant tags to your “Flowers 2022” folder.
That way, you’ll have them at your fingertips when you go back to the garden center next year. And, you’ll know EXACTLY which flowers you bought.
(3) Jot down anything you want to remember in your Notes app.
It can be helpful to add notes on your phone, so they’re easily accessible next year too.
But, if you prefer to write them out or type them on your computer, feel free to do that instead! You can always take a photo of your notes.
If you’re wondering what to write down, here are a few questions to consider:
- Which flowers did you really like? (Why?)
- Which flowers were duds? (Why?)
- Which flowers were too much work?
- Which flowers got gobbled up by Japanese beetles, deer or other critters?
- What would you do again in future flowerpots?
- What would you do differently?
You don’t have to turn into Leo Tolstoy here and write a 1200-page novel. There’s no need to answer ALL these questions or write notes about every flowerpot.
Just note what you want to remember. Make your thoughts as short as you want.
Don’t know the names of the flowers in your containers? No worries! You can say “the purple flower” or “the lime-green vine.” You’ll have the photo to go with your note, so you can see what it looks like.
(BTW, this is another bonus to saving the plant tags. They help you learn plant names.)
Here are examples of notes I’ve taken:
Now, you’ll have everything easily organized on your phone.
You’ll be able to quickly pull up your photos and notes when you start thinking about planting next spring.
You’ll be able to avoid anything that may have gone slightly awry this summer.
And if you’d like, you can repeat the flowers that looked really, really good.
Because we are all about gardening smarter, not harder, am I right?
Related topics that may interest you:
by Ann at Go West Gardener | Updated: Sep 10, 2026 | Garden design Ideas, Gardening Tips and Tricks, In-ground garden, Waterwise Gardening in the Intermountain West
You may be in the heart of winter, but that doesn’t mean your garden has to look boring!
Chances are, when you’re out walking your dog or getting a little fresh air, you’ve noticed a neighbor’s home that catches your eye.
You know the one.
It’s the house or apartment complex where you can’t help but stop and look. Their landscaping looks soooo good in the fall and winter.
Heck, even your dog wants to stop and take a look. (Or, at least take a lil’ sniff.)
If you want a pretty winter garden too….
One of the easiest ways to make your garden look good in the winter is to plant ornamental grasses.
Ornamental grasses add a “wow” factor to winter gardens.
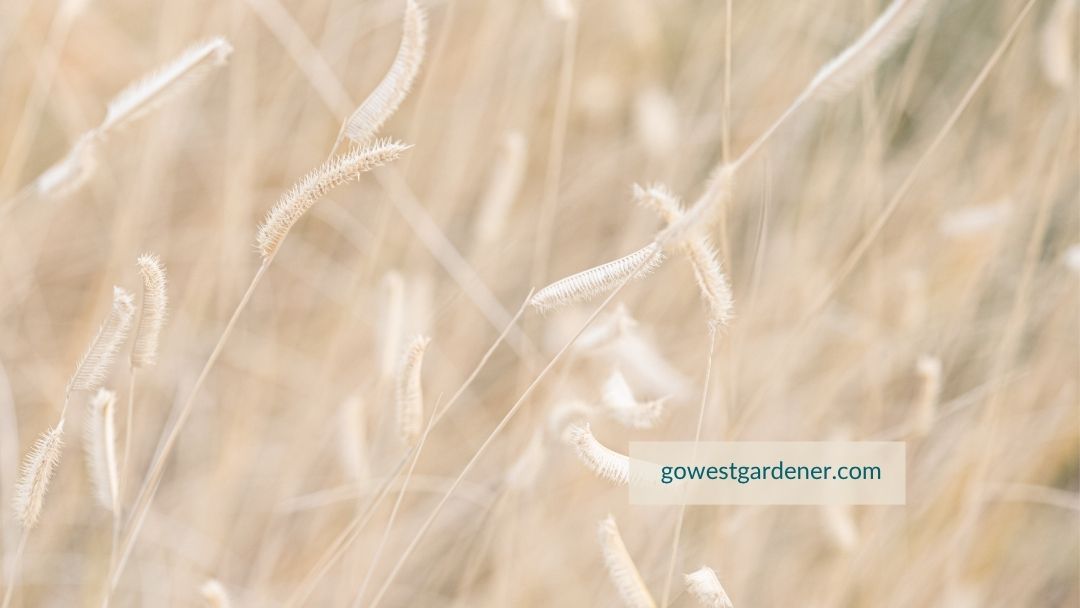
Their feathery plumes or seed heads will glow in the winter light. When the wind blows, you’ll get a wonderful flowing motion and a whispering sound. And they can add structure and height to your garden.
In garden lingo, this is known as creating “winter interest.” Even though it’s winter, you still have plants that look pretty.
Best of all, ornamental grasses are easy to grow.
Here are helpful things to know about ornamental grasses:
1) Ornamental grasses tend to be low maintenance.
You’ll likely cut them back once a year, but that’s about it. You don’t have to fuss over them.
2) Grasses tend to bounce back well from our tough weather: gusty winds, hail, surprise snowstorms… Gotta love the intermountain west!
3) They tend to grow well in our poor western soils, so they’re less work.
4) Many grasses are “deer resistant.”
You shouldn’t have to worry about your grasses disappearing thanks to your neighborhood Bambi.
5) Some grasses don’t need much water, which is awesome if you live in a semi-arid climate like Colorado or Utah.
PRO TIP: Some grasses DO need regular watering, so don’t assume your grass is “drought tolerant.” Do a little research first or ask when you buy it. The Colorado State University has a useful web page explaining which grasses are low moisture versus high moisture.
6) There are lots of interesting grasses to choose from!
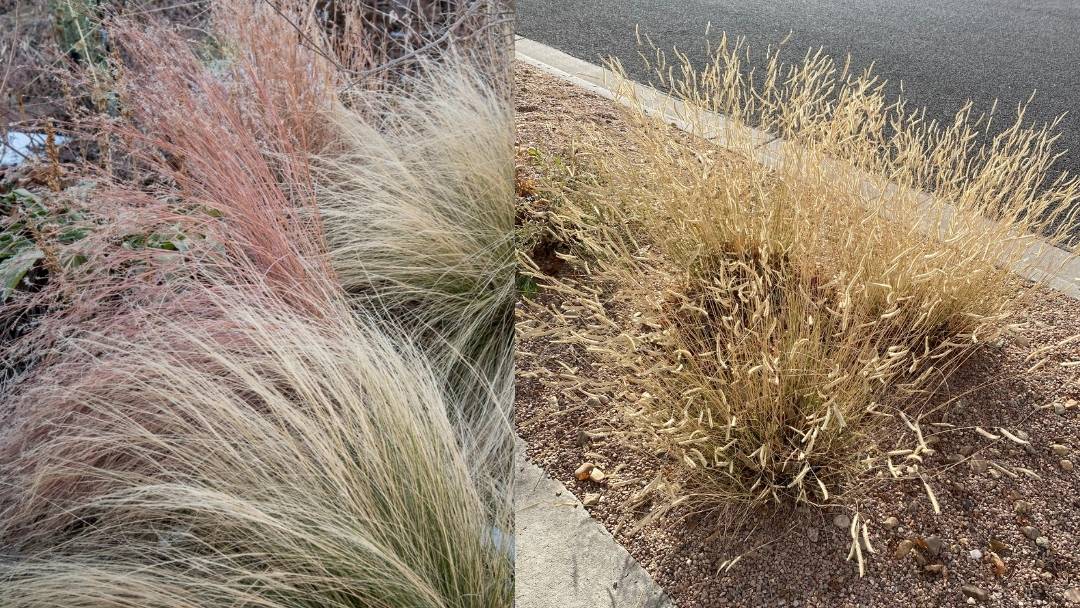
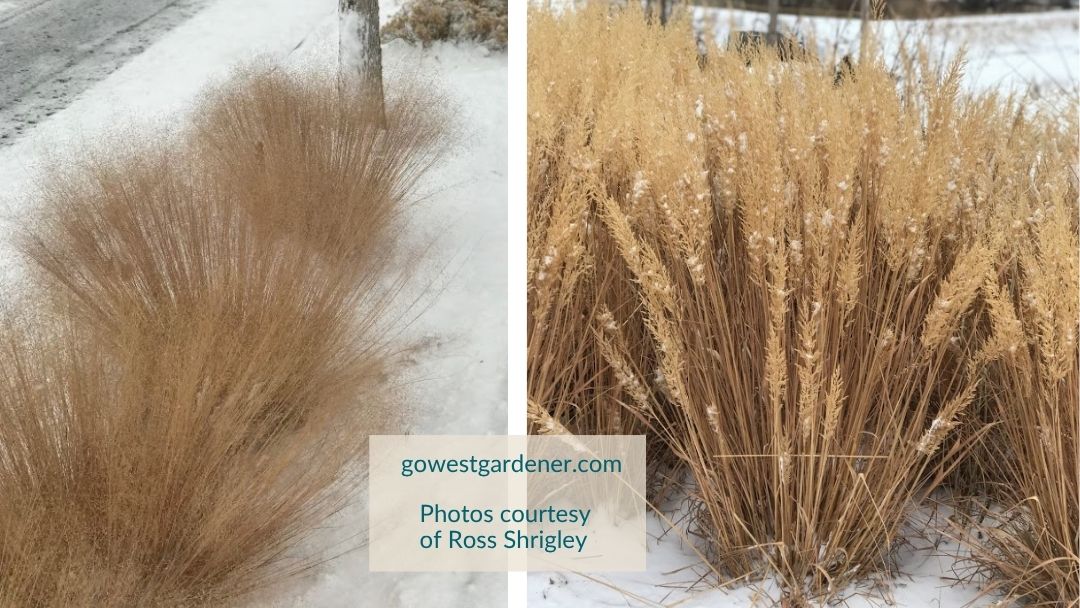
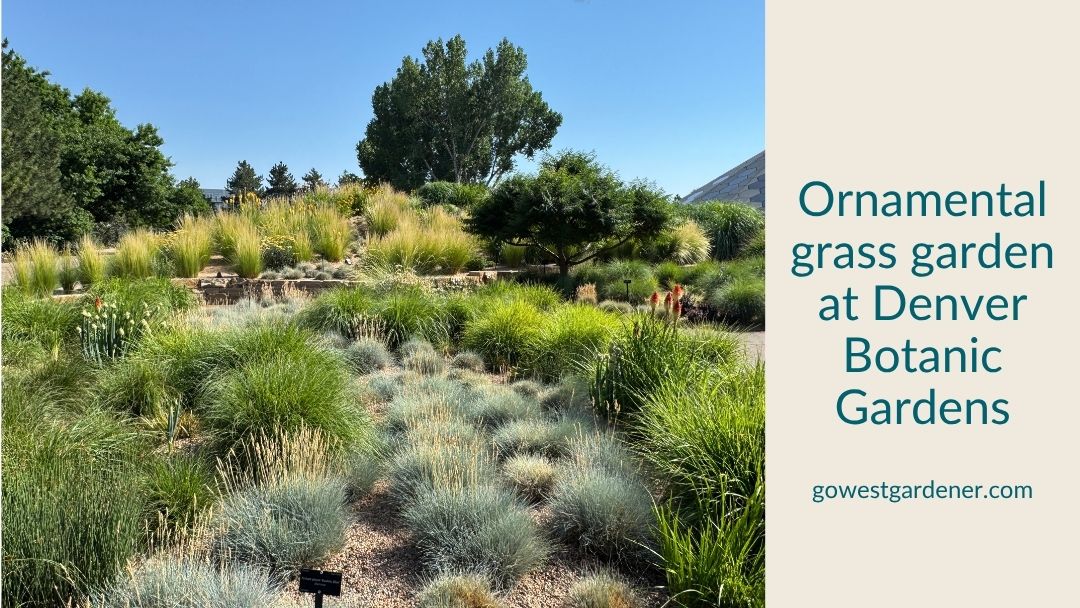
You can find the perfect look: from round, mounded grasses, to narrow, column-like grasses. They come in all sizes and a range of colors, as you can see in the photo below.
While you don’t plant grasses in the winter, our coldest months are a great time to take photos of grasses you like.
When you’re out walking your dog or dashing to the grocery store, pull out your phone and snap a pic if you see grasses you think are pretty in the winter. Create a folder on your phone called “Garden Inspiration.” Add your pics to that folder.
(If you have a million photos on your phone like me, this makes it easy to find your photos when you head to the garden center.)
It’s 100% okay if you don’t know what the grasses are!
Check out this post for 5 popular western grasses and what they look like in the winter. Hopefully, this will make it easier to figure out which ones you like.
Plus, you can take your photos with you when you buy flowers in the spring. The employees at local, independently-owned garden centers are usually happy to help you identify plants.
One more tip to make your garden look good in the winter…
It’s tempting to cut down your ornamental grasses in the fall to make them “look tidy.”
But it’s worth appreciating how pretty plants can look when they’re left standing over the winter. Think of winter as a fourth season of beauty.
Often times, leaving your grasses standing can help them survive the winter better too. And it can create a little habitat for wildlife, like birds.
So, if you already have ornamental grasses and you’ve been cutting them down in the fall, no worries! But next year, skip the chopped look below.
Leave your grasses standing through the winter.
Prune them in the spring when you start seeing new growth coming up. This is an easy way to make your winter garden look prettier. Plus, it’s good for the health of your garden and for pollinators too.
Related tips that may interest you:
by Ann at Go West Gardener | Updated: Jan 28, 2026 | Gardening Tips and Tricks, In-ground garden
I originally published this article in March 2022. Enjoy!
Spring flowers are starting to pop from the ground like eager party guests who want to be the first to arrive… even as Mama Nature sends us a few more snowstorms in Colorado. (Good times.)
As we ride the weather roller coaster between winter and spring, it’s a good time to ask:
Would you like your garden to look more beautiful next winter?
I’m talking about a winter garden that has neighbors stopping to admire your landscape… or simply a garden that makes your heart sing every time you look outside.
If yes, spring is the time to act.
Many of the plants that add interest to winter gardens are best planted in April, May and June.
Yep, the months when the last thing you want to think about is winter!!
Here are two examples:
Ornamental grasses
Ornamental grasses are showy landscape grasses that can add a big “wow” factor to winter gardens (and fall gardens too). Their feathery plumes and seed heads glow in the winter light. These grasses dance in the wind, adding a soothing whispering sound to gardens.
The irony is the best time to plant many ornamental grasses is when you crave color: spring!
“Warm season” ornamental grasses (the grasses that grow during the time of year that you wear sandals) are best planted in May and June. This is when they’ve actively started growing, but well before you see their seed heads. Not to mention, the weather usually isn’t too hot yet.
Pro tip: This is when grasses may look a little “meh” at the garden center. They won’t have their showy plumes yet, but don’t let that deter you. Buy them in the late spring, so you can create winter interest later in the year.
Evergreen shrubs
The same timing is true with evergreen shrubs—woody plants that keep most of their needles or leaves during the winter.
Spring is the ideal time to plant evergreen shrubs in western states like Colorado. That way, they have all summer to settle in before you find yourself reaching for mittens again.
(Typically, you can plant evergreen shrubs in the early fall too, but with fall planting, evergreens are more at risk for not surviving the winter.)
With spring approaching…
Now’s a good time to think about what you may want to plant, so your garden shines next winter.
Related tips that may interest you: