
Looking for a fun fall project that will make your front porch look GOOD?
Use a pumpkin as a planter. You’ll create a cute autumn flowerpot that has your neighbors saying, “Wow!”
I created pumpkin planters with a friend last fall. This project is quick and easy. (Yesss!) And I got great feedback from my neighbors.
Scroll on to get the scoop on how to use a pumpkin as a planter.
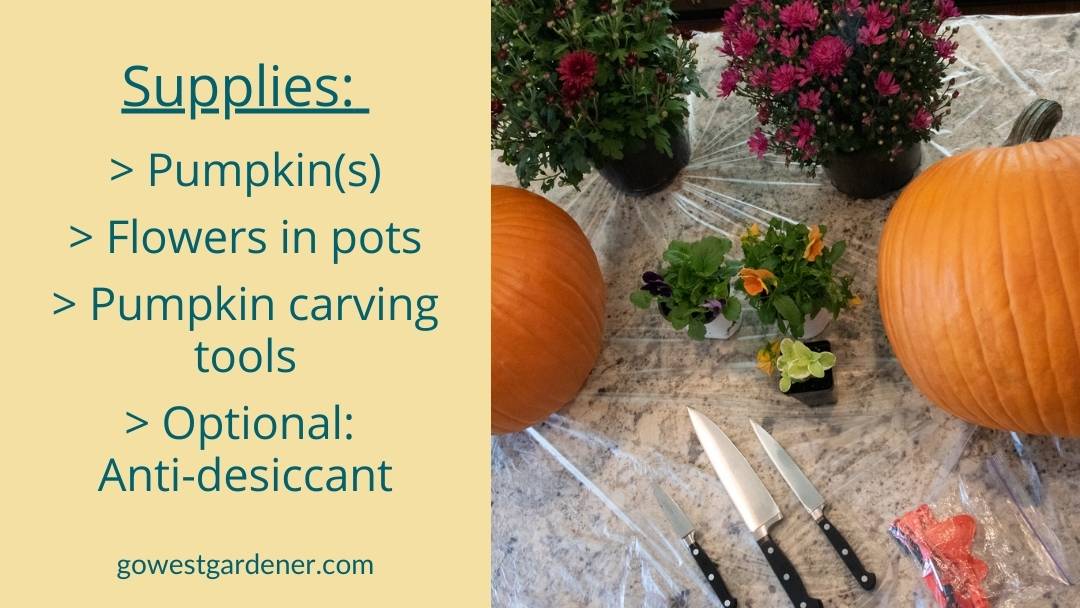
What you need to make a pumpkin planter…
The basic things you need are:
- Large pumpkins
- Flowers in pots (you’ll keep your flowers in the nursery pots rather than planting them directly in the pumpkin)
- Pumpkin carving tools
- OPTIONAL: An anti-desiccant spray (this is supposed to help the pumpkin from drying out)
Alright, let’s jump into the steps!
Pick a big pumpkin.
Size matters here. Look for a big pumpkin.
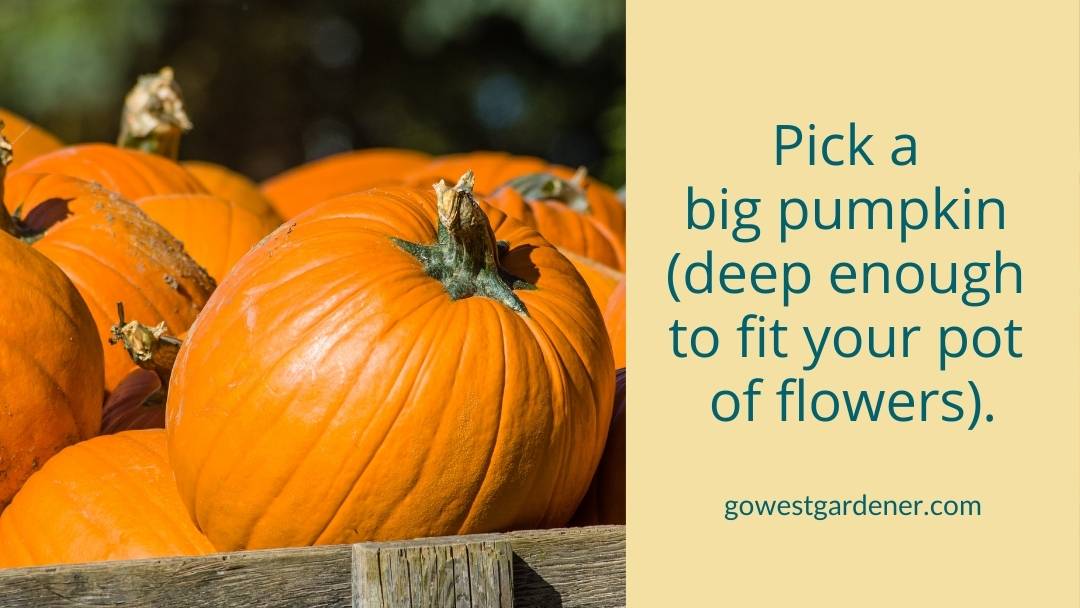
I took an empty flowerpot with me to the store, so I could get a sense for how big of a pumpkin I needed.
I’m not great at spatial planning, so this helped me a lot.
Wash your pumpkin.
Clean the outside of your pumpkin with soap and water.
This will help it look like a shiny, new penny and keep your hands clean.

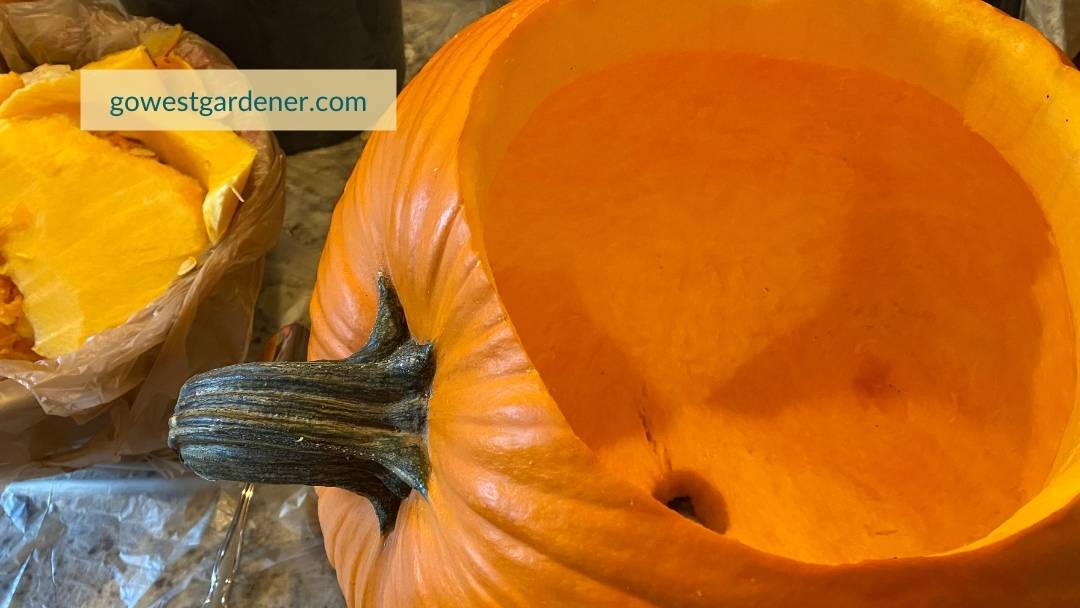
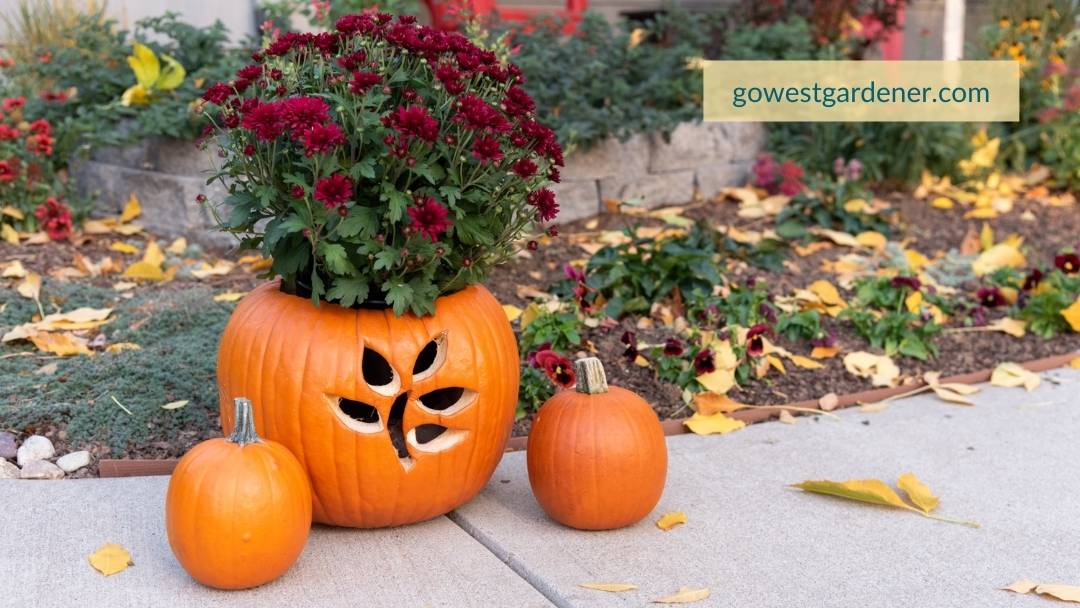
Create the hole for the flowerpot.
Trace a hole on your pumpkin that’s slightly bigger than the size of your flowerpot.

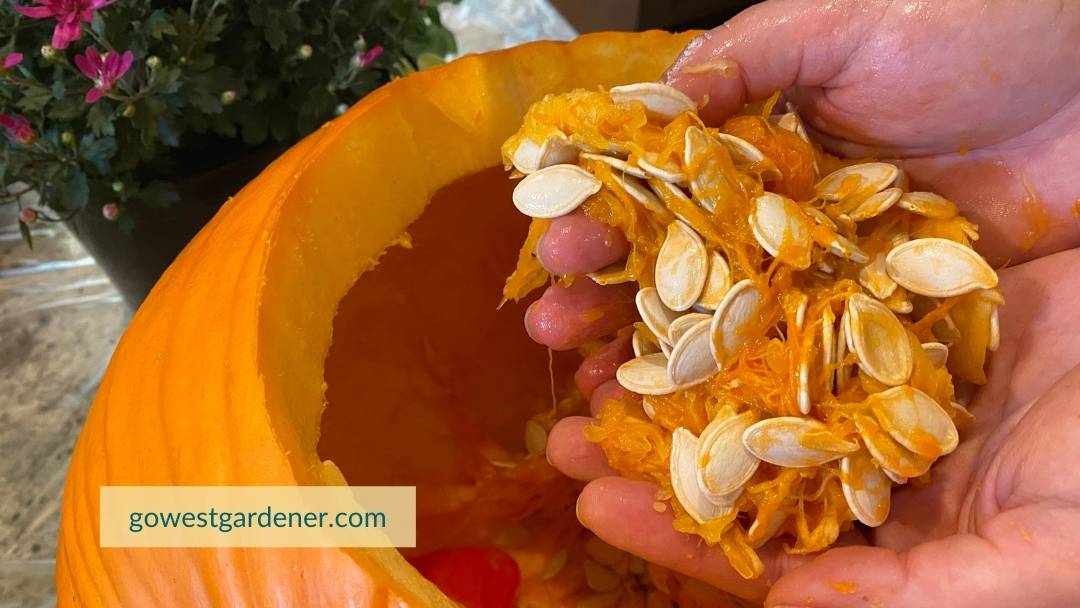
Clean out the inside of the pumpkin.
Make sure the hole is big enough to easily remove the flowerpot for watering. As you can see in the photo below, I needed to slightly expand the hole.
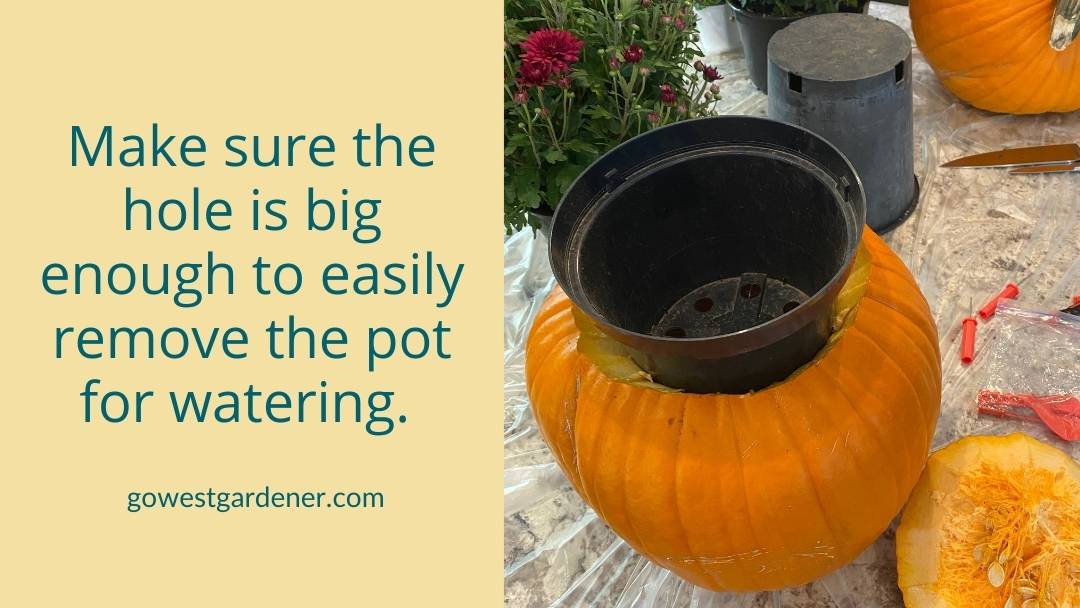
It’s important to be able to remove the flowerpot.
When you water your flowers, you’re going to pull the flowerpot out of the pumpkin. That way, you don’t have water seeping into the bottom of the pumpkin.
When you’re done watering and the water has stopped dripping, you’ll put the flowerpot back in the pumpkin.
If there’s any chance you’ll have water dripping at the bottom, you may want to carve a drainage hole in the bottom of the pumpkin too.
Get creative with where you carve the flowerpot hole.
You don’t have to cut the hole for the flowerpot where the stem of the pumpkin is.
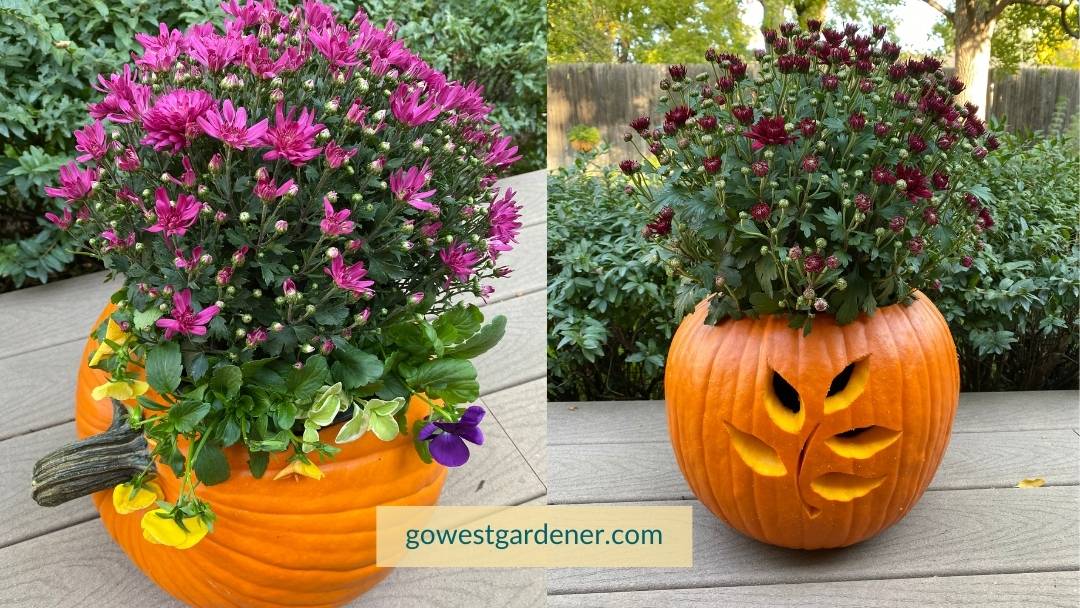
My friend found a cool pumpkin that looked better on its side, as you can see below.
Optional: Once the pumpkin is cleaned out, spray the interior with an anti-desiccant.
An anti-desiccant spray is supposed to help keep the pumpkin from drying out. I found the spray at a local garden center last fall. You also can order it on Amazon.
Follow the instructions on the bottle for how long to let it dry.
Full disclosure: I didn’t find that the anti-desiccant made much of a difference, so I’m not going to use it this year.
You could stop here, and you’d have a really cute pumpkin planter.
Or, you can go a few steps further…
Turn your pumpkin planter into a Jack O’Planter.
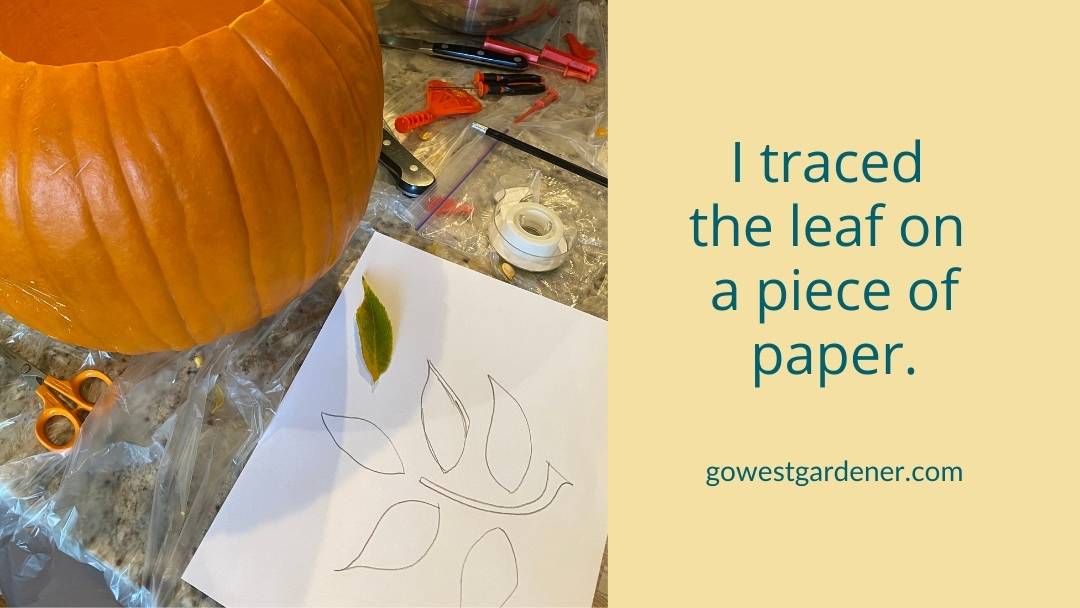
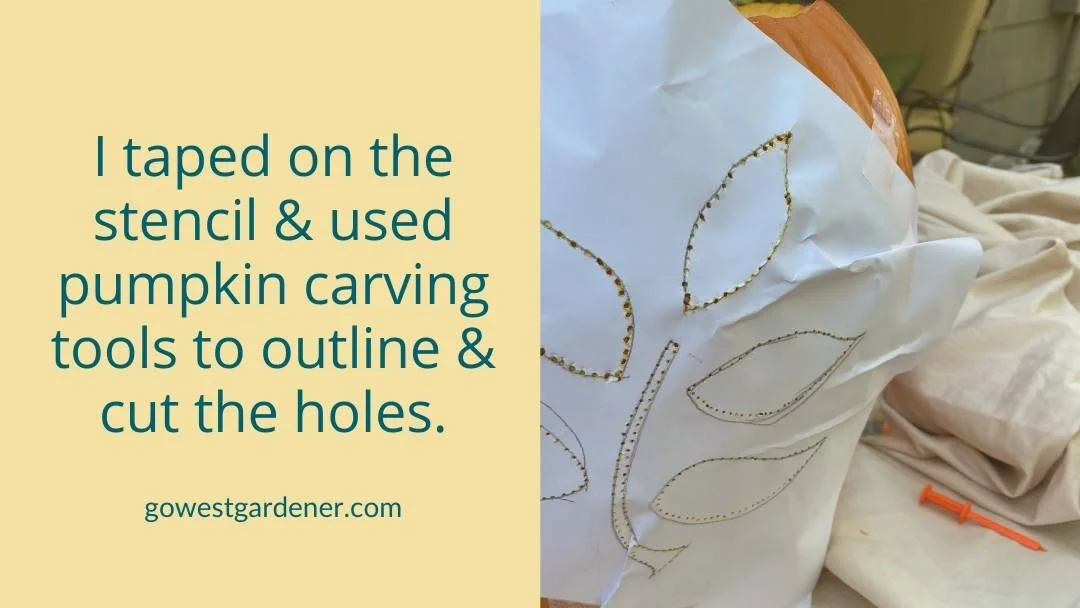
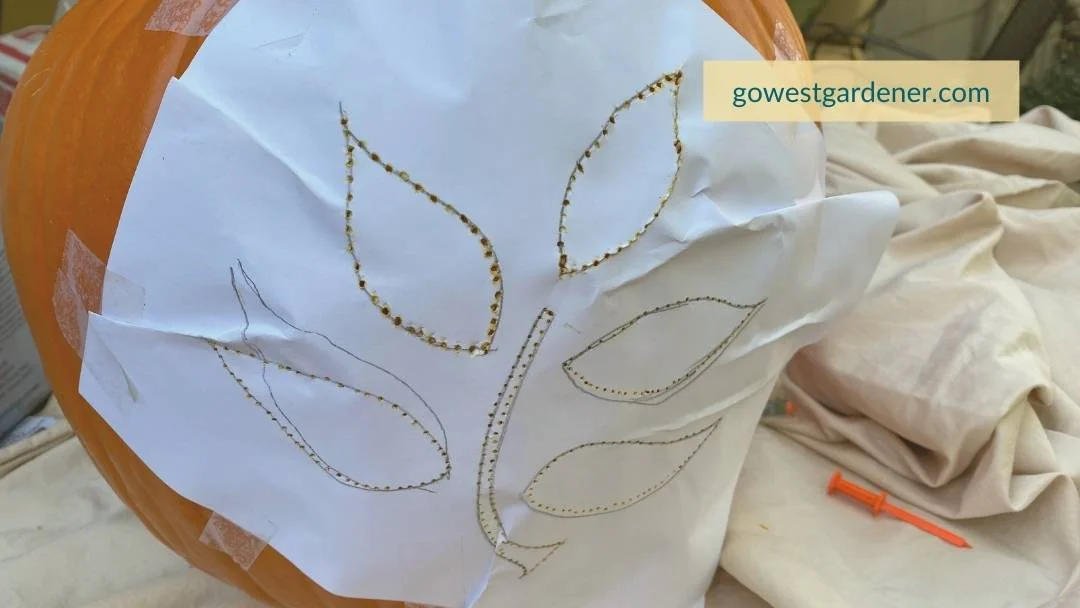
I felt like my pumpkin needed a little “oomph,” so I decided to carve it.
You could carve anything you want into your pumpkin: a funny face, a pretty pattern, the brand logo for your business…
In my case, I started with a leaf.

Here’s how my pumpkin planter turned out.
I was excited with how it came together!
How do you get your flowerpot to sit at the right height in the pumpkin?
You may need to put something inside the pumpkin for the flowerpot to sit on.
In my case, I turned an old plastic cup upside down inside the pumpkin. Then, I set the flowerpot on top of it.
This helped the flowers to sit at the right height.
Plant a pretty mix of fall flowers.
If you want to use a pumpkin as a planter, you also could include a mix of fall flowers.
(Go big, right?)
My friend filled an empty nursery pot with potting soil and packed in several types of fall flowers, like mums and pansies.
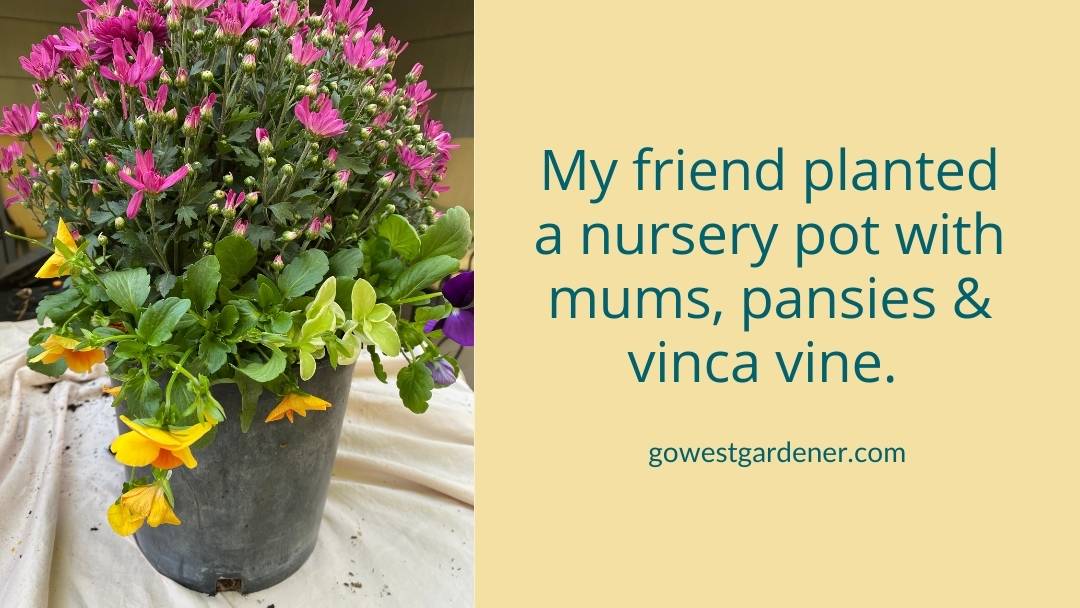
Then, she put that flowerpot inside her pumpkin planter.
Here’s a look at both of our pumpkin planters.
Cute, right?
What we may tweak for this autumn…
My friend and I may experiment with adding in other types of pumpkins this year. I have a ceramic Jack O’Lantern pumpkin. My friend has a craft pumpkin from a craft store.
We’re going to see if these options help our fall displays last longer.
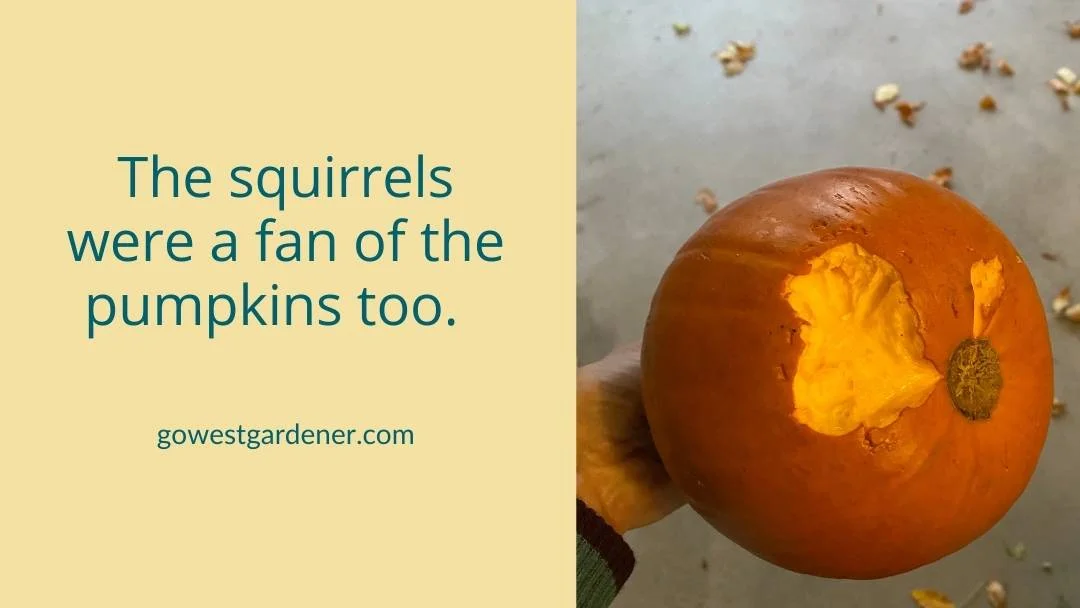
At the very least, the squirrels should be less interested in the pumpkins.
But I’m also going to carve real pumpkins again and use them as planters.
It was fun!
If you make a pumpkin planter, share it on Instagram or Facebook and tag @gowestgardener. I’d love to see what you create.
Related tips that my interest you
- How to choose fall flowers that last longer, like mums
- “Can I change the flowers in my flowerpots for fall?”
- “When should I empty my flowerpots?”